Monday, January 28, 2013

Recommended Baby Products: Toys (small)

I hope that you are finding my recommending baby products posts helpful. I have also posted about large toys and high chairs. With so many baby products on the market, it can quickly become overwhelming when trying to figure out what to purchase. We don't have a lot of small toys for my son since he is only 8 months old, but I'm sure that will change after his 1st birthday. Again, I will cover just toys that we love and not mention ones that we haven't been fans of. If you have any questions, please comment!


Fisher Price Laugh 'n Learn Click 'n Learn Remote
We bought this for David for Christmas. He has a fascination with remotes. I won't let him play with the actual TV remote because that is known to be on of the most germ friendly things in your home. This toy only cost around $10 from Target. It has an on-off switch on the side so that the baby can still play with the remote with no sound. The volume keys actually turn the volume up and down. The red light on top flashes along with the music too. This toy has been a great attention grabber for David. He can sit there and play with this remote forever. It has been a life saver!


Vulli So' Pure Teether (aka Sophie the Giraffe)
Trust me on this, if you only buy one toy for your baby... get a teether. The best thing about Sophie is that she is made of natural rubbers and painted with food paint. How awesome is that? And of course, she is BPA free. David has been chewing on this toy since the beginning (maybe that's why he already has 4 1/2 teeth?). Not much else to say about this... just buy it. It will cost you about $15 on Amazon.


                    source                                                                                            source

Rhino Toys Oball Rattle and Football
We received the rattle as a baby shower gift and we purchased the football ourselves. This toy is great for little baby fingers to grab. It is also light weight so baby can pick it up and even throw it. The rattle in the original Oball is a great sensory object for baby. The football is a little larger but also a favorite to David. They cost about $10 each on Amazon. (Bonus: they are easy to attach to pacifier clips too!)


VTech Sit-to-Stand Learning Walker
My sister, Tana, got David this walker for Christmas. She has two girls of her own and says this was their all time favorite toy. She is right! David loves this thing. Although he isn't walking yet, he does like to sit in front of it and push all the buttons. It's pretty cute because he can't stand to have the phone on the base and for the gate on the far left to be open. As soon as we give him the toy he rips off the phone and closes the gate. Only then can he proceed to playing :) The face of the walker comes off so that you can sit the activity board flat on the floor. We haven't done that for David, but you do have the option.


Melissa & Doug Shape Sorting Cube
I had never heard of Melissa and Doug until David was born. It's good to know that there are still wooden toys being made today! I came across this cube at a garage sale in the Fall. It had a price tag of $5 but I talked her down to $2. Not bad when they cost around $15 brand new. I think this toy is technically for ages 3 and up... but David loves to play with the shapes! Of course he can't put them into the correct holes quite yet, but he still loves it. It entertains him for at least 30 minutes.

Friday, January 25, 2013

Homemade Cinnamon Rolls- Copycat Cinnabon Recipe

I have been scouring the internet for a good cinnamon roll recipe for a few weeks now. If you are a follower of me on Pinterest then you have seen me pinning recipes left and right! I finally picked one out (via JoCooks) and made them the other day. My husband loves cinnamon rolls more than any other sweet. I wanted to surprise him when he got home from work! I started making these at 3:30 PM and finished around 6 PM. It shouldn't normally take that long, but my dough didn't rise properly so I had to improvise (total user error). They make 8 large rolls and are great the following day as well if you heat them up. Either way, I hope that you try this recipe out because it is worth the time!


 Ingredients:

Dough
  • 1 packet of active dry yeast
  • 1 cup of warm milk
  • 1/2 cup sugar
  • 1/3 cup butter, softened
  • 1 tsp salt
  • 2 eggs
  • 4 cups flour
Cinnamon Roll Filling
  • 1 cup packed brown sugar (I used light brown sugar but dark will do.)
  • 3 tbsp cinnamon
  • 1/3 cup butter, softened
  • 1 tbsp flour
Cream Cheese Icing
  • 6 tbsp butter, softened
  • 1 1/2 cup powered sugar
  • 1/4 cup cream cheese, softened
  • 1/2 tsp vanilla extract
  • 1/8 tsp salt
Directions:

Dough

  1. Dissolve your yeast in the 1 cup of warm milk. Let sit for 10 minutes.
  2. In your mixing bowl add the sugar, flour, salt, butter and eggs and combine well.
  3. Pour the milk/yeast mix into your mixing bowl and use the dough hook attachment to combine the mixture.
  4. Place the dough into an oiled bowl and let rise for 1 hour or until dough is has doubled in size. While the dough is rising, make the cinnamon roll filling.
  5. Once dough has rised, roll it out on a floured surface. Make sure you don't roll it out too thin. The rectangle should be 16in x 12in and about 1/4 inch thick.
  6. Spread out the cinnamon roll filling evenly over the dough.
  7. Roll the dough from top to bottom making sure that you seal the seam.
  8. Cut the dough into 1 3/4 inch slices and place into a lightly greased baking pan. 
  9. Bake at 350 degrees for 22 minutes or until golden brown.
  10. While your rolls are baking make the icing.
  11. Ice your rolls as soon as they come out of the oven.
Cinnamon Roll Filling
  1. All you have to do is combine the brown sugar, butter, cinnamon and flour in a small bowl. Make sure that you soften the butter first so that it mixes well.
Cream Cheese Icing
  1. Combine the ingredients well. Best to use your mixer for this part so that the icing becomes light a fluffy without killing your arm :)


Wednesday, January 23, 2013

Recommended Baby Products: Toys (large)

Toys, toys, toys and more toys! You can never seem to have enough to entertain baby. I have found a few that have been great attention grabbers and occupiers. Since there is such an array of toys I will divide the Toy group into two different posts; large and small. The large ones will be covered today. You will find swings, playards, jumpers, etc.

Best Swings:

Fisher-Price Cradle 'n Swing was great for the home. The best part is that it plugs in! No emergency trips to the store to pick up C batteries that you never have laying around the house when the swing dies :). It was a little bit too big when David was first born, so we had to wait a few weeks to use it. Once he fit in it, he took all of his naps in this swing until he was too heavy for it to swing anymore. He weighs 22 lbs now and we just stopped using it a couple weeks ago. So I'd say 20 lbs would be the limit. Don't get me wrong, it is still safe for him to sit in it. But, if the swing isn't swinging then it gets boring fast. The swing will sway front to back and side to side. David went through a stage where he liked each. We never really used the canopy or the tray table pictured below. We got it on Craiglist for $50 used. You can buy it on Amazon for $130.


The other swing that we have for David is the Fisher-Price Space Saver Swing and Seat. We were able to use this swing from day one because he fit in it perfectly. This swing is great for traveling too. I took it to my moms over the summer while she was watching David because I was working. We also took it on a road trip with us to Ohio. It is light weight and the hook on top with the rhinos detaches easily. Unfortunately, the swing does not plug in so you have to have both C and D batteries for it to run. A great benefit of the swing is that it has an optional vibrating mode. The vibrating mode seemed to calm him while he was a new born. We didn't use it much after that. You can also lock the swing into place to make it a "seat". We got ours as a gift from my sister at the baby shower. You can get it for $85 on Amazon.
(haha, doesn't that baby look hilarious?)
Best Playard:

I was persistent on getting a pack 'n play for my son while pregnant. My husband convinced me that a playard would make more sense. After seeing the one that he picked out, I put up a fight! I was wanting a pack 'n play that matched his stroller. Looking back, I don't know why I was so picky about that. When do you ever see a pack 'n play and stroller in the same room together? Haha, never. I am so happy that we went with the Graco TotBloc Pack 'N Play Playard with Carry Bag. We got it on... you guessed it... Craigslist. I don't remember what we paid for it. I want to say $75, but we bought it with a few other items so I can't remember exactly. You can order it on Amazon for around $100.
One of he best features of this playard is that it is huge but not overwhelming. There is plenty of room for David to roam around in there and I don't feel like I'm putting him in baby jail :). There are great sensory features that attached to the netting. There is a sunshine that has a mirror on the opposite side, a butterfly that has crinkly wings, a lady bug with a squeaker toy inside, and a bug that has jingle bells inside of it's wings. So, even if there weren't any toys in there with him, he still has things to entertain him that are attached! It folds up really easy and comes with a storage bag.


Best Jumper:

Fisher-Price Rainforest Jumperoo. This jumper is light weight, easy to move and comes with plenty of entertaining attachments. This jumper does require AA batteries if you want to use the sound. We have never put batteries into ours so one less toy that makes sound! :) I never knew this until now, but the swing folds up for easy storage! I just saw it in one of the pictures on Amazon. I'm going to go do that right after I finish this post! My favorite part of this jumper is that it has a head rest (where the birds eyes are in the picture below). Other jumpers that I have seen do not have this. It was great when David jumps hard because his head doesn't go flying backwards. The leaves on top can adjust up and down depending how far your baby can reach to play with them. We got ours on Craigslist for only $25 used. You can get them on Amazon for around $90.


Best ExerSaucer:

Before being pregnant, I had never heard of an exersaucer. I have seen jumpers of course, but these were new to me. We wanted to find something that David could grow with. My husband found the Evenflo Exersaucer Triple Fun - Jungle online and after reading about it we knew it was the one! For newborn baby it is a play mat, then a traditional exersaucer and lastly a play table when they can stand and walk! Forewarning... you should own stock in batteries before you buy this thing. Each attachment that makes noise requires AAA batteries. So you will need quite a few! We bought ours for $50 off of Craigslist. You can buy it new from Amazon for around $100.


I hope that this post has been helpful for you! Click here to view my post about high chairs.

Tuesday, January 22, 2013

Recommended Baby Products- High Chairs

I have been a new mom for almost 9 months now! I wish I would have come across a blog that talked about the best baby products... what to buy and what not to buy. I have learned my lesson over the past few months so, I figured I would share my opinion with you. I don't want to dis any companies so I will only post what you should buy and where to buy most of the items. Today I will focus on high chairs and go on from there with other posts.
Most (if not all) of the baby items that we purchased for my son were from Amazon or Craigslist. I love Amazon because of the free shipping and no tax. If you are patient with Craigslist, you can really find a lot of good deals on there. Don't be afraid to look outside your city either. We found some items that were 2 hours from here but were worth the drive for the savings.

Best high chairs:
The best traveling high chair is the Chicco 360 Degree Rotating Chair. It is around $65 on Amazon. We got ours on Craigslist for $30, it was used of course but still in great condition! There is a similar Chicco attachable chair that runs for about $30. The one pictured below is much better because it comes with an attachable tray (great for nasty tables at restaurants!) and it rotates 360 degrees. The rotating feature is a life saver for babies because they get bored pretty quickly. All you have to do is pull the lever on the back of the chair and turn it whatever direction you would like. It locks into place and is completely safe.

source

The main high chair that we use at home is the Stokke Tripp Trapp High Chair. It runs for around $250 on Amazon. We were able to get it on Craigslist for $100. We had to drive almost 2 hours to get it, but it was worth the savings! Where do I begin with the description of this chair!? It is awesome. The best feature is that it can hold up to 300 lbs. Yes, you read that right. 300 lbs. It is a chair that grows with your child. How awesome is that?!? You can see from the picture below that you just need to move around a few pieces to make the seat comfortable for your size. I also have the plastic attachable tray but it is not pictured on the high chair below. A lot of reviews I read on this chair said that it was so great because it pulls right up to the dinner table and no tray is needed. We haven't tried that yet, but I'm sure we will when David starts feeding himself.
source
source


Friday, January 18, 2013

Homemade French Bread

My wonderful mother-in-law has a great french bread recipe that I would love to share with you. I have been in love with this bread since the first time I had it over 10 years ago. I have never asked for the recipe because I thought that I couldn't make it myself. But, now that I have a Kitchen Aid Mixer and have been practicing baking/cooking for the past year... I figured I should give it a shot. She shared the recipe with me and my sister-in-law, Mysha, last weekend. It is easy to make and tastes delicious!
The recipe makes two loafs. Keep them both for yourself or give one to a friend!

Ingredients


  • 2 packs of Active Dry Yeast
  • 1/2 cup of very warm water
  • 1 tablespoon sugar
  • 6 cups of flour
  • 1/2 tablespoon salt
  • 2 cups of warm water
  • Crisco (just to coat bowl for rising)

Directions

1. Proof your yeast in the 1/2 cup of very warm water and 1 tbsp of sugar. (NOTE: you do not have to proof your yeast if you don't want to. It is just a smart thing to do to ensure that your yeast will work. If you skip this step and your yeast doesn't work (aka your bread doesn't rise) then you will be out of all of your ingredients! If you chose to skip this step, then you can just add the yeast to the dry ingredients in the step below and add the 1/2 cup of warm water to the 2 cups listed below).

2. While your yeast is proofing, add 2 cups of water, 1/2 tbsp of salt and 2 cups of flour into your mixing bowl. Blend together and then mix in the  

    yeast.

3. Slowly add the remaining 4-4 1/2 cups of flour. I used the paddle 
    attachment for these steps.

4. Change over to your dough hook and knead the dough for 10-15 minutes.

5. Lightly coat your rising bowl with Crisco (I used a paper towel to apply).

6. Place the dough ball into the glass bowl and then flip the dough over so 
    that the greased side is facing up. Let dough rise for 1 hour (or until double in size) in a warm room.

7. Punch down the dough and let it rise another 30 to 45 minutes.

8. Remove the dough from the bowl and divide into two. Cover and let rest for 
    10 minutes.

9. Roll out each half into a large rectangle (about 15x12 in.).

10. Roll up the dough tightly, beginning at long side. Make sure that you seal 
     well while your roll.

11. Cover the dough loaf with a hand towel and let rise for 30 minutes.

12. Place each loaf, seam side down, onto a baking sheet. Bake for 20 
     minutes at 375 degrees.

13. Brush with water and bake another 15-20 minutes or until done. Cool and 
      serve. 


Monday, January 14, 2013

Family Portraits

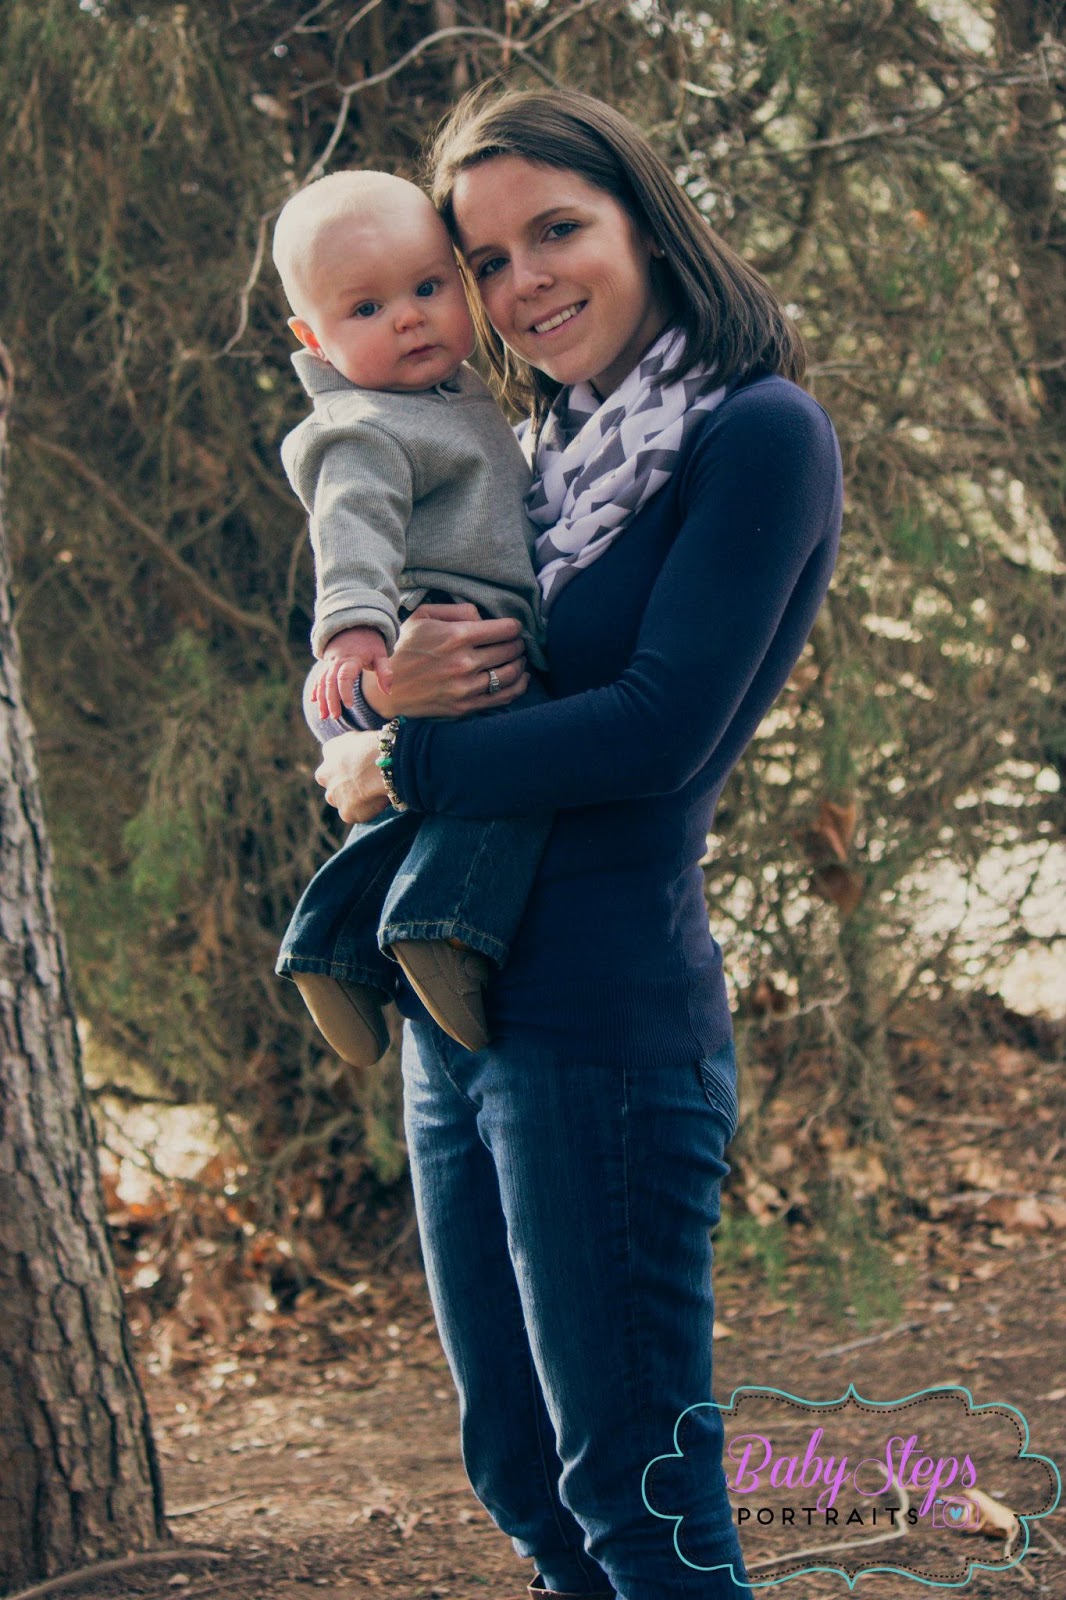
My sister, Tana, came into town from England to visit for Christmas. She recently started her own photography business and took some pictures of me and my family last week. If you are looking for a photographer in or around Cobham, UK then contact her! She does an awesome job! Here is her Facebook page: Baby Steps Portraits.
She has her contact information on the page and more pictures to see. She also specializes in newborn pictures.


Sunday, January 6, 2013

Organizing the PJ Drawer

I think that I may have the worlds largest PJ drawer. If I am a hoarder of anything, it is big t-shirts to sleep in.  For some reason I just can't get myself to give them away. I have found that the most comfortable t-shirts to sleep in are the free ones. I really don't think that I paid for any of my PJ shirts :)

Anyways, onto the point of this post. I came across this cool folding method on Pinterest. It makes it so that you don't have to dig through your stack of shirts to find the one you want. It also makes your drawer look much more organized. You should feel privileged that I am letting you view the mass chaos of this drawer.

Here is a picture of the before and after of the drawer:

(don't judge the animal print pants... lol)


WOW! What a difference. Below are the steps (with pictures) to achieve this organized greatness.

1. Lay your t-shirt down with the logo facing down.
I put this t-shirt face up to just show the logo.

2. Fold the right side of your shirt vertically over to the left side.

3. Fold the sleeves into the shirt.

4. Bring the top half of the shirt down to the bottom half. The sleeves should be folded into the shirt.

5. Fold again a second time in half vertically and you have it!


It took me about 10 minutes to fold the entire drawer. Now, finding shirts is so much easier!

Thursday, January 3, 2013

Dress turned scarf

I finally found a project to do on my new Brother sewing machine! This J.Crew dress was passed down to me. Unfortunately, it was a size 12. I had the option of either taking the dress down to my size or using the fabric to make something else. Since the dress is made out of 100% silk (and I'm totally new to sewing) I decided to just use the fabric to make a scarf. I had plenty of practice making scarves as Christmas presents.  This one is a little bit different than the other ones I made.


Here is the original dress:


Gosh... I really loved it. I wish it were either my size or that I knew how to take it down to my size. Oh well...

I started out by cutting down the middle of the back of the dress. I then cut off the sleeves and cut off the front of the dress from the back of the dress. Next, I used the front of the dress and folded the fabric into itself horizontally. Then I sewed a straight stitch down the length of the fabric.

Then I turned the scarf right side out and folded the scarf so that the ends met together and sewed it closed.


It's that simple! Final product:


I love that it is really light weight so I can wear it in the fall and spring too! I'm excited about finding dresses at Goodwill to do this to.